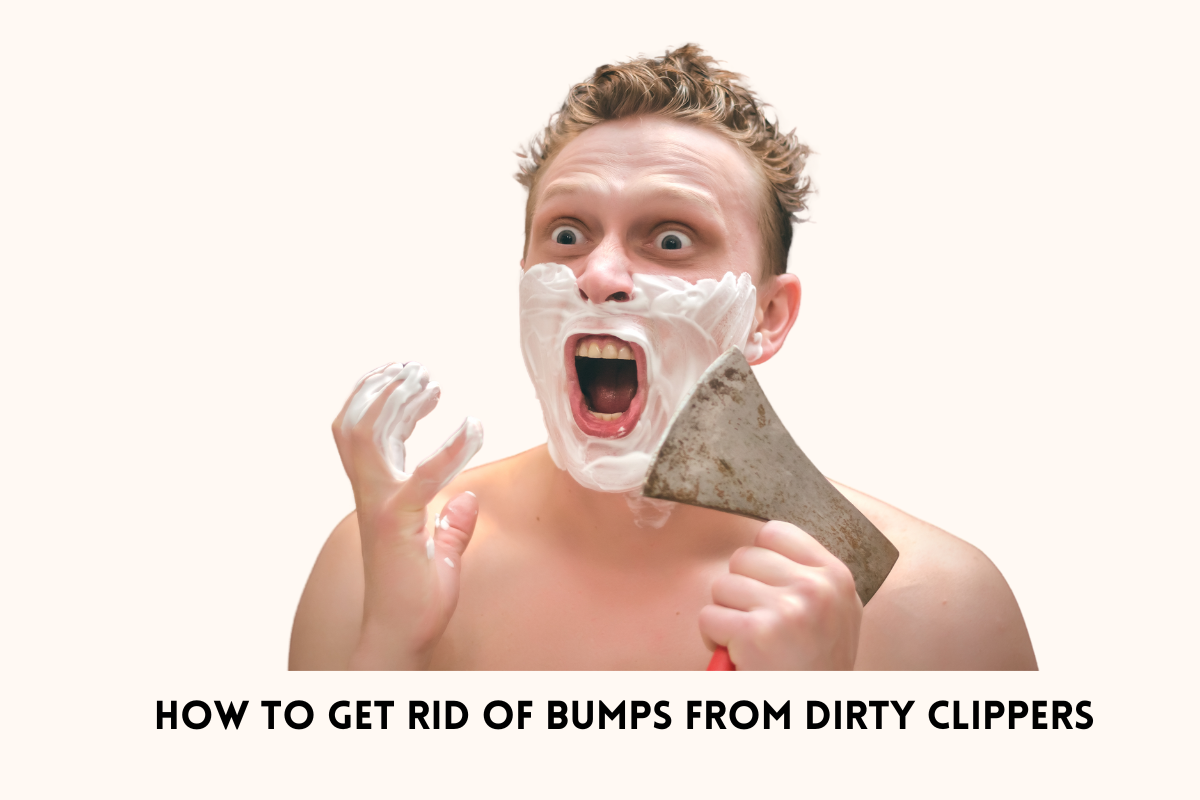
How To Get Rid of Bumps From Dirty Clippers
If you’ve ever experienced those pesky, painful bumps after using old or unclean clippers, you know the struggle is real.
Those unsightly blemishes can be frustrating and even embarrassing. Fortunately, there are effective ways to tackle this issue and prevent it from happening again.
Follow these ten steps to say goodbye to clipper bumps for good.
Step 1: Clean Your Clippers Thoroughly
The first and most crucial step is to give your clippers a deep clean. Remove any built-up hair, debris, and bacteria by disassembling the blades and washing them with warm, soapy water. Dry them thoroughly before reassembling.
Step 2: Disinfect Your Clippers
After cleaning, disinfect your clippers using a specialized disinfectant solution or rubbing alcohol. This will kill any remaining bacteria that could cause infections or irritation.
Step 3: Exfoliate Your Skin
Before using your freshly cleaned clippers, exfoliate the area you plan to trim or shave. This will remove dead skin cells and allow for a closer, smoother cut, reducing the risk of ingrown hairs and bumps.
Step 4: Apply a Pre-Shave Oil
Invest in a high-quality pre-shave oil and apply it to the area before clipping or shaving. This will help soften the hair, reduce friction, and protect your skin from irritation.
Step 5: Use a New, Sharp Blade
Dull or damaged blades can tug and pull at the hair, causing irritation and bumps. Replace your clipper blades regularly, or have them professionally sharpened to ensure a smooth, clean cut.
Step 6: Shave in the Direction of Hair Growth
When using your clippers, always shave or trim in the direction of hair growth. Going against the grain can lead to ingrown hairs and bumps.
Step 7: Moisturize After Shaving
After clipping or shaving, apply a soothing, fragrance-free moisturizer to the area. This will help calm any irritation and prevent dryness, which can exacerbate bumps.
Step 8: Use a Cold Compress
If you notice any bumps or ingrown hairs developing, apply a cold compress to the area. This will reduce inflammation and soothe the skin.
Step 9: Try an Over-the-Counter Hydrocortisone Cream
For stubborn bumps, consider using an over-the-counter hydrocortisone cream. This can help reduce swelling and redness, providing relief from discomfort.
Step 10: Seek Professional Help for Severe Cases
If you continue to experience severe, persistent bumps or signs of infection, it’s best to consult a dermatologist or healthcare professional.
How to Maintain a Clipper
Step 1: Clean After Every Use
The first and most crucial step in maintaining your clippers is to clean them after every use. Hair clippings, oil, and debris can accumulate between the blades and in the clipper’s housing, leading to dullness, reduced cutting efficiency, and potential bacterial growth. Use a small brush or compressed air to remove any visible hair and debris, and then disassemble the clipper head for a thorough cleaning with a clipper disinfectant or mild soap and water.
Step 2: Lubricate the Blades Proper
After cleaning, apply a few drops of clipper oil along the length of the blades, ensuring even coverage. This lubricates the moving parts, reduces friction, and prevents premature wear and tear.
Step 3: Store Properly
When not in use, store your clippers in a dry, cool place, away from moisture and excessive heat. Moisture can lead to rust and corrosion, while heat can cause the lubricant to break down, leaving your blades dry and susceptible to damage.
Step 4: Inspect and Replace Blades
Over time, even with proper maintenance, your clipper blades will become dull and need replacement. Inspect your blades regularly for signs of wear, such as nicks, chips, or uneven cutting. Replace dull or damaged blades promptly to ensure a smooth, comfortable cut and prevent skin irritation.
Step 5: Check the Power Source
For corded clippers, inspect the power cord for any fraying or damage, and ensure the connection to the clipper is secure. For cordless clippers, keep the battery charged and replace it when it no longer holds a sufficient charge.
FAQ
1. What are clipper bumps, and why do they occur?
Clipper bumps are small, irritated bumps on the skin that occur after using dirty hair clippers.
2. How can I immediately treat bumps caused by dirty clippers?
To treat clipper bumps, start by cleaning the affected area with a mild antiseptic solution to prevent infection.
Applying aloe vera or hydrocortisone cream can soothe irritation. If swelling is present, a cool compress may also help reduce discomfort.
3. What steps can I take to prevent getting bumps from clippers?
Preventing clipper bumps involves maintaining good clipper hygiene. Clean and disinfect your clippers before each use, and ensure the blades are sharp to avoid tugging at the skin. Adopting a gentle shaving technique can also minimize skin irritation.
4. When should I seek professional medical advice for clipper bumps?
If clipper bumps become excessively painful, show signs of infection (such as pus, increased redness, or warmth), or don’t improve with home treatment within a few days, it’s important to seek advice from a healthcare professional.
5. How do I properly clean and maintain my clippers to avoid skin bumps?
To clean your clippers, first, remove hair and debris. Then, use a clipper-specific disinfectant spray or solution to sanitize the blades and guard.